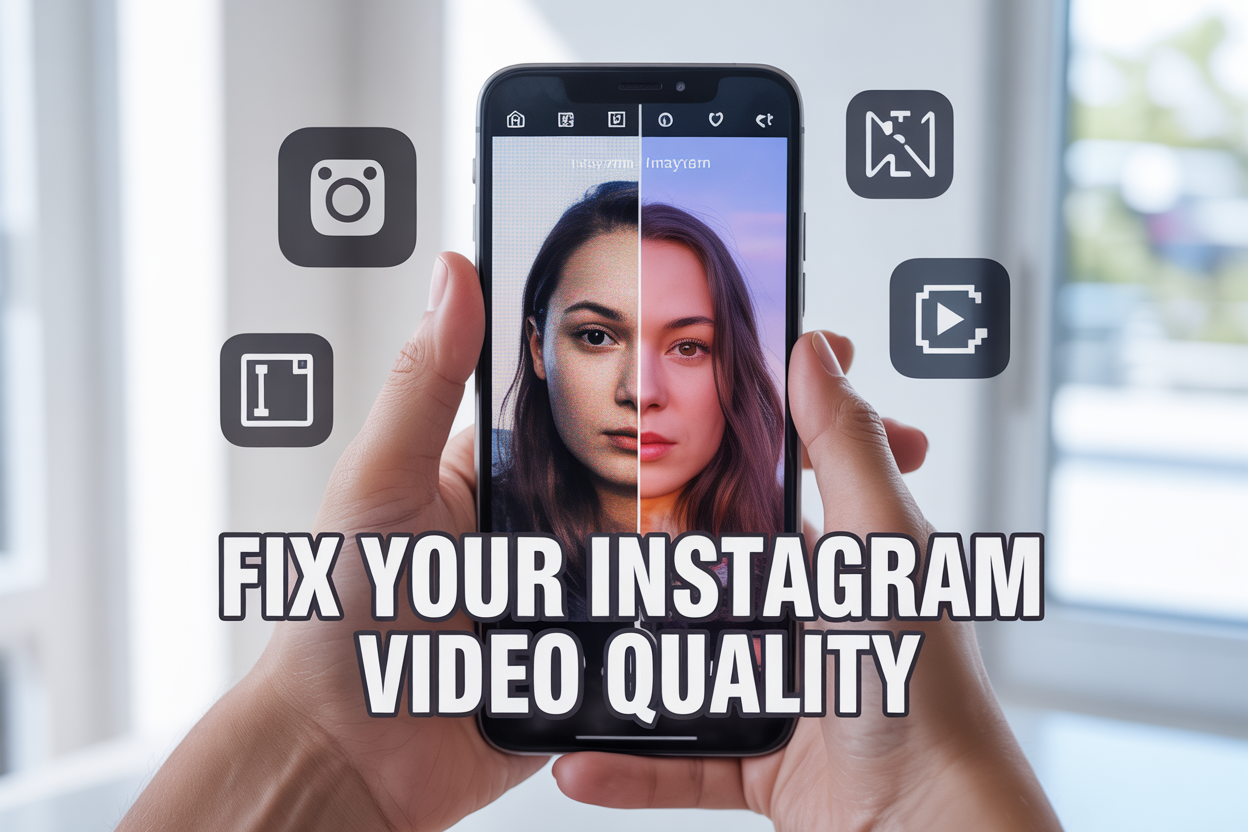
क्या आपकी Instagram Stories और Reels की video quality इतनी खराब है कि viewers तुरंत swipe कर देते हैं? अगर आप content creator हैं, influencer हैं, या बस अपने social media game को improve करना चाहते हैं, तो यह post आपके लिए है।
Instagram Stories की Video Quality क्यों खराब हो जाती है? इसकी main वजह गलत camera settings और compression issues हैं। लेकिन good news यह है कि कुछ simple camera adjustments से आप professional-looking content बना सकते हैं।
इस guide में हम cover करेंगे कि कौन सी camera settings आपकी video quality को खराब करती हैं और कैसे perfect settings apply करें। साथ ही जानेंगे कि upload से पहले अपनी videos को कैसे optimize करें ताकि Instagram पर भी quality maintain रहे।
Instagram Stories में Video Quality खराब होने के मुख्य कारण
Instagram का Automatic Compression System
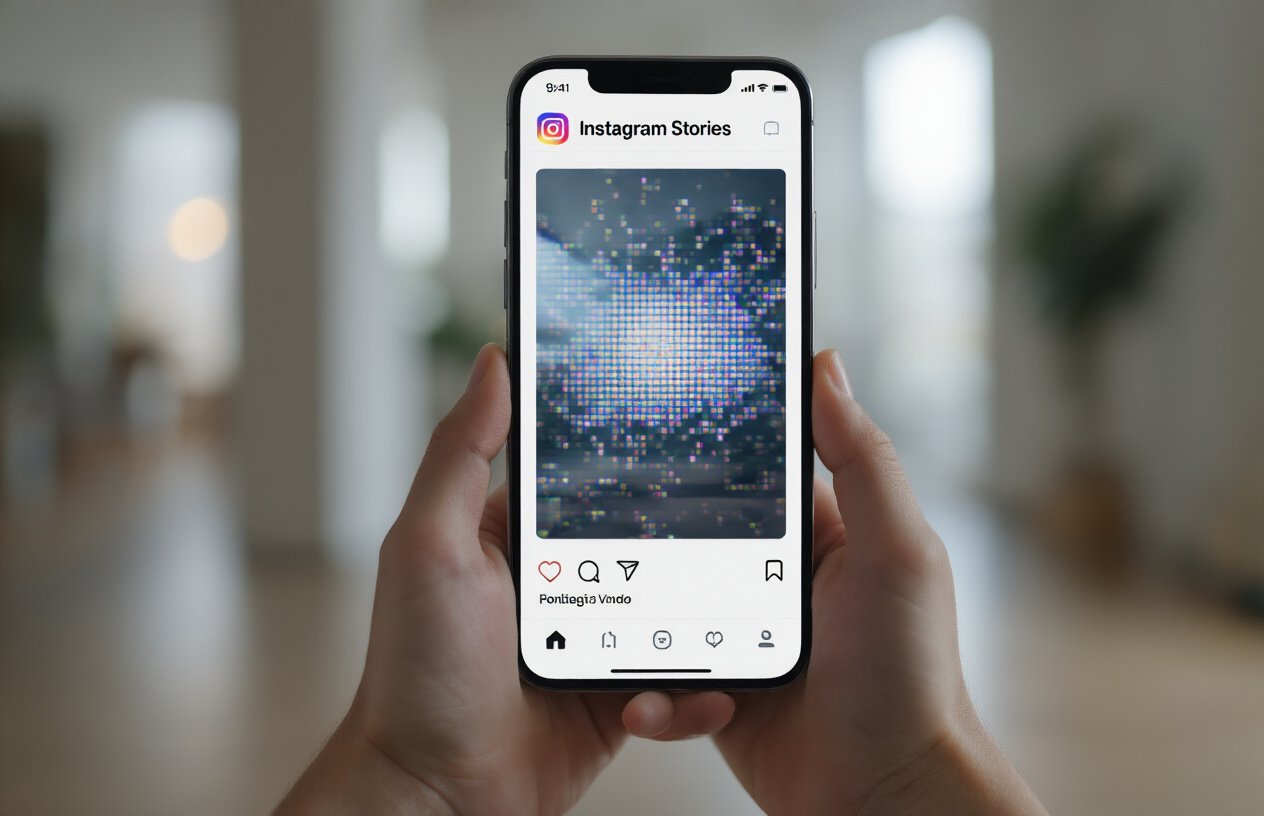
Instagram का compression algorithm आपकी videos को automatically compress कर देता है, जो quality loss का सबसे बड़ा कारण है। जब आप कोई video upload करते हैं, Instagram उसे अपने servers पर storage space बचाने के लिए compress करता है। यह compression process original video की quality को काफी कम कर देता है।
Instagram अलग-अलग devices और screen sizes के लिए multiple versions बनाता है। High-resolution videos को lower resolutions में convert करने की वजह से details blur हो जाती हैं। Original 4K video भी upload के बाद 1080p या उससे भी कम quality में show होती है।
गलत Camera Settings का इस्तेमाल
ज्यादातर users default camera settings का इस्तेमाल करते हैं जो Instagram के लिए optimize नहीं होती। Wrong resolution, frame rate और format की वजह से video quality खराब हो जाती है।
Common गलतियां:
- Low resolution में recording करना
- 60fps की जगह 30fps का इस्तेमाल
- HDR mode का गलत उपयोग
- Auto focus settings का सही configuration न करना
- Wrong aspect ratio choose करना
Phone का built-in camera app अक्सर Instagram के requirements के according optimize नहीं होता। इसलिए third-party camera apps का इस्तेमाल करना बेहतर होता है।
Poor Lighting Conditions का प्रभाव
कम रोशनी में record की गई videos में noise और grain बहुत ज्यादा होता है। Digital noise की वजह से Instagram का compression algorithm और भी aggressive हो जाता है, जिससे video quality और खराब हो जाती है।
Lighting issues:
- Indoor artificial lighting का yellow/orange tint
- Uneven lighting distribution
- Backlighting problems
- Shadow और highlight का imbalance
Natural lighting में record की गई videos हमेशा बेहतर quality देती हैं। Golden hour (sunrise/sunset के time) की lighting सबसे ideal होती है Instagram content के लिए।
Internet Connection की Speed Issues
Slow internet connection की वजह से videos properly upload नहीं हो पातीं। Instagram timeout के बाद video को lower quality में process कर देता है। Upload speed कम होने पर Instagram automatically quality reduce कर देता है।
Connection problems:
- 4G/5G signal strength issues
- WiFi bandwidth limitations
- Peak hours में network congestion
- Background apps consuming bandwidth
Stable और fast internet connection Instagram content की quality maintain करने के लिए जरूरी है। Video upload करते समय background में running apps को close करना भी मदद करता है।
Camera Settings जो आपकी Video Quality को बर्बाद करती हैं
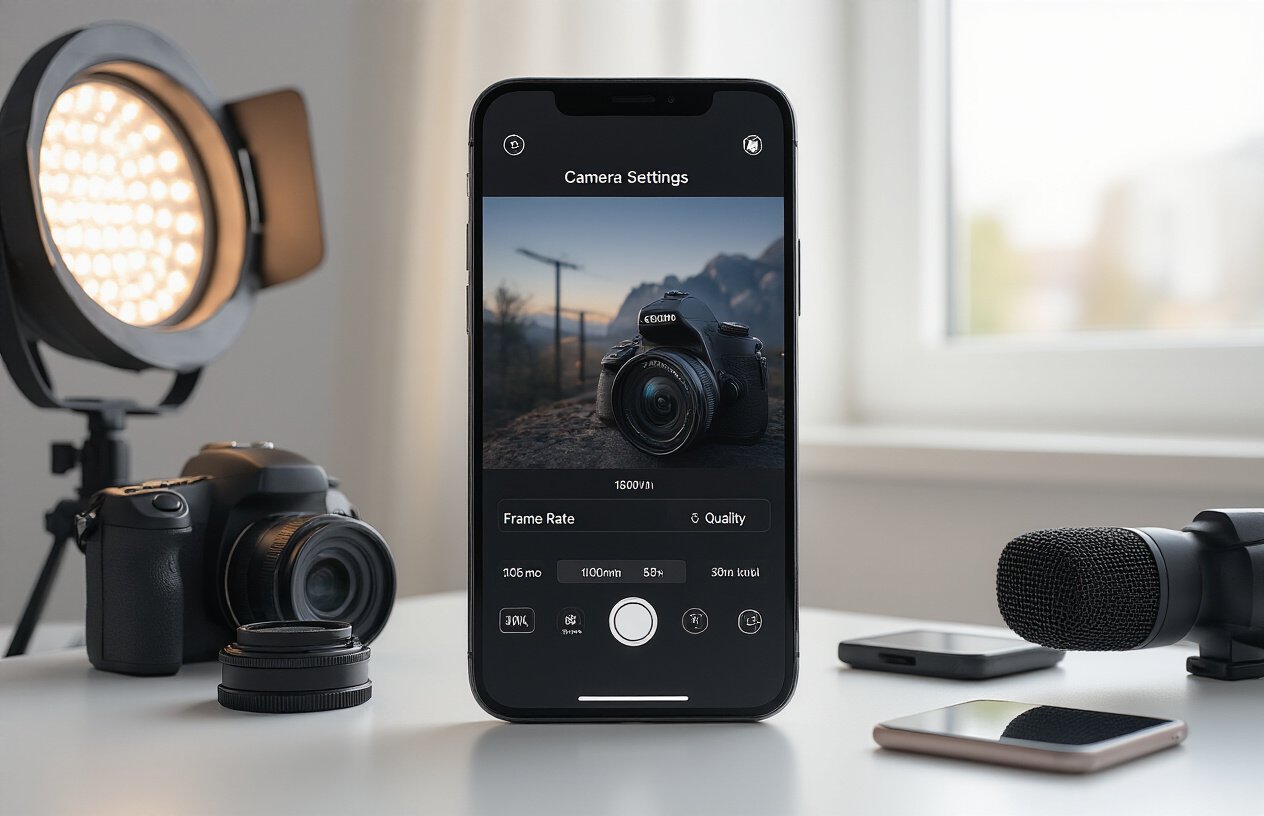
Wrong Resolution और Frame Rate Selection
आपके smartphone में बहुत से resolution options होते हैं जैसे 720p, 1080p, और 4K। ज्यादातर लोग सोचते हैं कि सबसे high resolution में record करना सबसे अच्छा होता है, लेकिन Instagram के लिए यह बिल्कुल गलत approach है। जब आप 4K में video बनाते हैं तो Instagram उसे compress करके much lower quality में convert कर देता है।
सही Resolution का चुनाव:
- Stories के लिए: 1080×1920 (9:16 aspect ratio)
- Reels के लिए: 1080×1920
- Square posts के लिए: 1080×1080
Frame rate भी एक major factor है। 60fps में recording करना हमेशा better नहीं होता। Instagram Stories केवल 30fps को properly support करता है, इसलिए 60fps में record करने पर compression issues आते हैं।
Auto Focus की गलत Settings
Auto focus की default settings अक्सर Instagram content के लिए suitable नहीं होतीं। Phone का auto focus system constantly hunting करता रहता है, खासकर low light में या जब आप moving objects को record कर रहे होते हैं।
Common Auto Focus Problems:
- Face tracking off होना: अगर face tracking disable है तो camera आपके face को properly focus नहीं कर पाता
- Continuous AF का overuse: यह setting background में constant refocusing करती रहती है
- Single point focus का गलत इस्तेमाल: Manual focus point set न करना blur videos का कारण बनता है
आपको focus mode को “Single AF” पर set करना चाहिए और manually focus point select करना चाहिए। यह especially important है जब आप close-up shots या product videos बना रहे हों।
Exposure और White Balance की समस्याएं
Auto exposure और auto white balance की settings बहुत से creators के videos को ruin कर देती हैं। Phone का auto exposure अक्सर overcompensate करता है, जिससे videos में inconsistent brightness आती है।
Exposure की मुख्य समस्याएं:
- Auto exposure lock न करना: जब lighting conditions change होती हैं तो video में sudden brightness changes आते हैं
- HDR mode का गलत use: कई phones में HDR mode stories के लिए suitable नहीं होता
- Backlight compensation: Strong backlight में subject dark दिखता है क्योंकि proper exposure compensation नहीं किया जाता
White balance के लिए “Auto” mode indoor और outdoor mixing के time पर color temperature को constantly change करता रहता है। आपको lighting conditions के according manual white balance set करना चाहिए – indoor के लिए “Tungsten” या “Fluorescent” और outdoor के लिए “Daylight” mode use करें।
Perfect Camera Settings for High-Quality Instagram Content
Optimal Resolution और Aspect Ratio Choose करना
Instagram पर बेहतरीन video quality के लिए सबसे पहले resolution को समझना जरूरी है। Stories के लिए 1080×1920 pixels (9:16 aspect ratio) का use करें, जबकि Reels के लिए भी यही format perfect है। अपने phone की camera settings में जाकर 4K recording को enable करें, क्योंकि Instagram compression के बाद भी quality बेहतर रहती है।
Resolution Options की तुलना:
| Format | Stories | Reels | Feed Posts |
|---|---|---|---|
| Optimal | 1080×1920 | 1080×1920 | 1080×1080 |
| Minimum | 720×1280 | 720×1280 | 600×600 |
| Frame Rate | 30 fps | 30-60 fps | 30 fps |
अगर आपका phone 4K support नहीं करता, तो कम से कम 1080p में record करें। Aspect ratio को manually adjust करने से बचें – recording के time ही सही format में shoot करना बेहतर है।
Manual Focus और Exposure Control करना
Auto mode की बजाय manual controls का use करके आप professional-looking content बना सकते हैं। Focus को lock करने के लिए screen पर tap करके hold करें। यह technique moving shots के लिए बेहद उपयोगी है।
Exposure को control करने के लिए:
- Bright scenes में exposure को -1 या -2 पर set करें
- Low light में +1 करके brightness बढ़ाएं
- AE/AF Lock feature को activate करें consistent exposure के लिए
iPhone users के लिए Camera app में manual controls access करने के लिए third-party apps जैसे FiLMiC Pro या VSCO का use कर सकते हैं। Android users के लिए Open Camera या Camera FV-5 excellent options हैं।
Proper Lighting Setup के लिए Settings
Natural lighting सबसे अच्छी होती है, लेकिन artificial lighting के साथ भी great results मिल सकते हैं। ISO settings को कम रखना जरूरी है – preferably 100-400 के बीच।
Lighting के हिसाब से Camera Settings:
- Golden Hour: ISO 100, शटर speed 1/60
- Indoor Natural Light: ISO 200-400, exposure +0.5
- Artificial Light: ISO 400-800, manual white balance
White balance को scene के अनुसार adjust करें। Daylight के लिए 5600K, tungsten bulbs के लिए 3200K use करें। अगर mixed lighting है तो auto white balance पर छोड़ दें, लेकिन editing में color correction करना पड़ सकता है।
Audio Quality को Improve करने के तरीके
Video quality के साथ-साथ audio quality भी Instagram content की success में crucial role play करती है। Built-in microphone की बजाय external microphone का use करें जहाँ possible हो।
Audio recording के लिए important tips:
- Wind noise से बचने के लिए windscreen या dead cat का use करें
- Recording से पहले audio levels check करें
- Background noise को minimize करने के लिए quiet environment choose करें
- Phone के microphone को accidentally block न करें
Recording के दौरान audio monitoring के लिए headphones use करें। यह real-time में audio issues को identify करने में help करता है। अगर external mic available नहीं है, तो phone को audio source के करीब रखें और hands-free recording techniques का use करें।
Post-recording audio enhancement के लिए apps जैसे Adobe Premiere Rush या InShot का use कर सकते हैं। Background music add करते समय original audio के साथ balance maintain करना जरूरी है।
Instagram Stories और Reels के लिए Recording Best Practices
Stable Shot लेने की Techniques
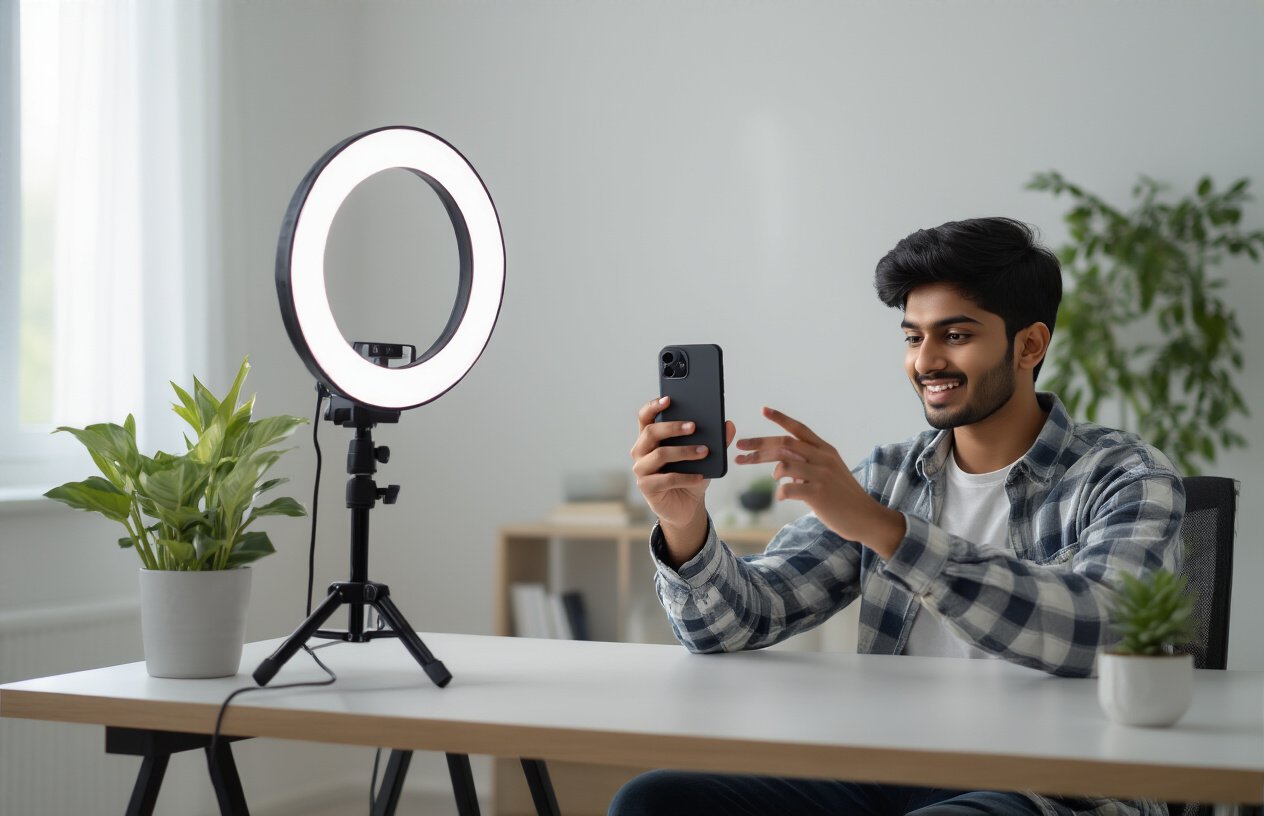
Professional looking videos के लिए सबसे जरूरी बात है stable footage। हाथों में हिलना videos को amateur बना देता है। Phone को दोनों हाथों से पकड़ें और कोहनी को body के साथ stick करके रखें। यह natural stabilizer का काम करता है।
Tripod या phone stand का इस्तेमाल करना best option है। अगर यह नहीं है तो wall, table या किसी flat surface का support लें। Walking shots लेते समय heel-toe technique use करें – पहले एड़ी फिर पंजा जमीन पर रखें। यह bouncing motion को कम करता है।
Breathing भी important factor है। Recording से पहले deep breath लें और slowly exhale करते हुए shoot करें। Quick movements से बचें और smooth panning के लिए waist को pivot point बनाएं। Professional creators अक्सर gimbal stabilizer का use करते हैं, लेकिन सही technique से phone camera भी excellent results दे सकता है।
Background और Composition को Optimize करना
Background सबसे ज्यादा overlook होने वाला element है। Cluttered या distracting backgrounds से focus subject से हट जाता है। Plain walls, clean spaces या natural outdoor settings choose करें। Depth of field create करने के लिए subject को background से distance पर रखें।
Rule of thirds follow करना essential है। Screen को mentally 9 parts में divide करें और subject को intersection points पर place करें। यह visually appealing composition बनाता है। Leading lines का use करके viewer की eyes को subject की तरफ guide करें।
Lighting का special ध्यान रखें। Natural light हमेशा artificial light से better होती है। Golden hour (sunrise/sunset के time) पर shooting करने से skin tone natural और warm दिखता है। Ring lights या softbox lights भी good investment हैं। Harsh shadows से बचने के लिए diffused light prefer करें।
Time Duration और Content Planning
Instagram Stories के लिए 15 seconds का maximum duration होता है, जबकि Reels में 90 seconds तक का option है। Content को इस timeframe के according plan करना crucial है। Hook create करने के लिए पहले 3 seconds में compelling content रखें।
Pre-planning करना time save करता है। Script या bullet points prepare करके recording करें। यह unnecessary retakes से बचाता है और video quality consistent रहती है। Batch recording technique use करें – एक साथ multiple videos shoot करके editing में time save करें।
Content का flow maintain करने के लिए storyboard बनाएं। Quick cuts और transitions plan करें जो audience को engage रखें। Call-to-action clear और specific रखें। Trending hashtags और music का research पहले से कर लें ताकि upload के समय delay न हो।
| Duration | Best Practice | Content Type |
|---|---|---|
| 5-7 seconds | Quick tips, quotes | Stories |
| 15-30 seconds | Tutorials, behind scenes | Reels/Stories |
| 30-60 seconds | Detailed explanations | Reels |
Upload से पहले Video को Optimize करने के तरीके
Third-Party Apps का सही इस्तेमाल
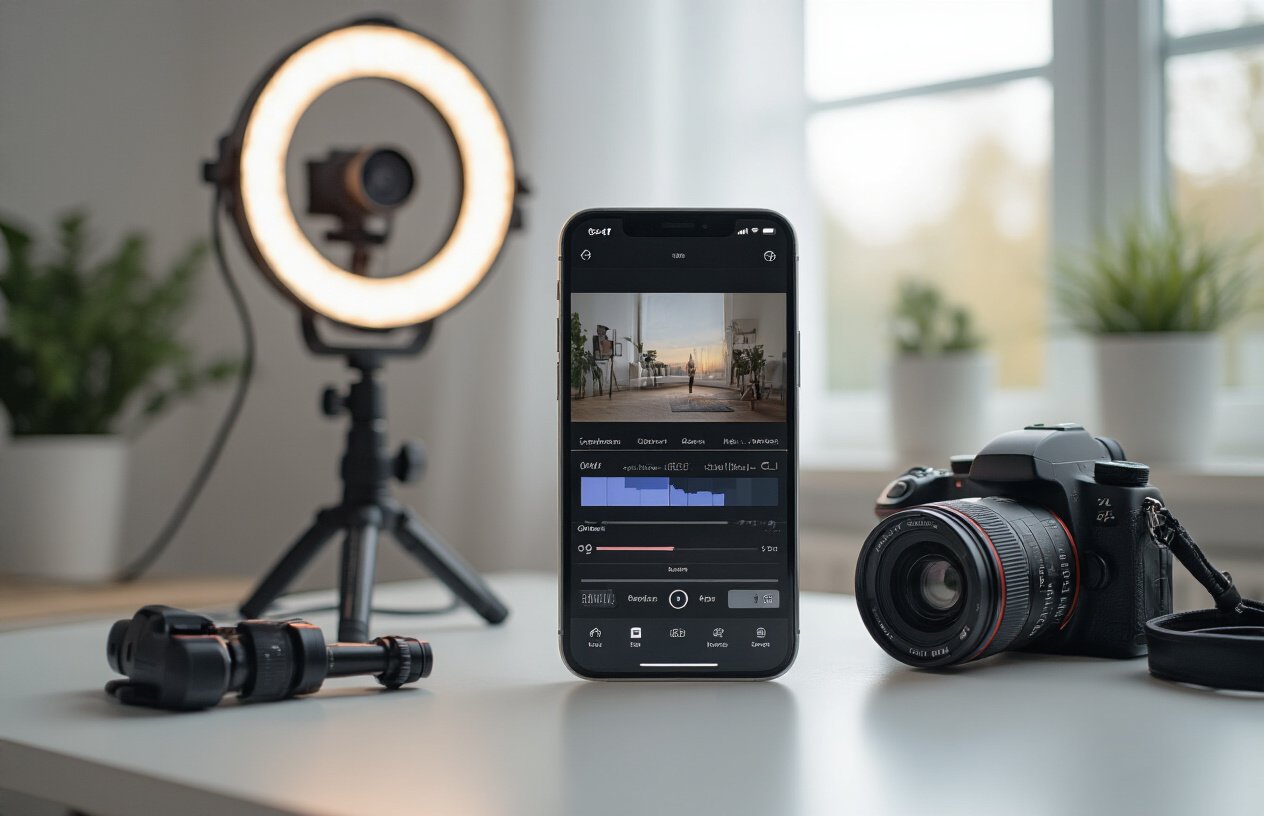
Video editing apps आपकी Instagram content की quality को काफी बेहतर बना सकती हैं। InShot, VSCO, और Adobe Premiere Rush जैसी apps में advanced compression settings होती हैं जो Instagram के अनुकूल हैं। ये apps आपको resolution maintain करने के साथ-साथ file size को कम करने में help करती हैं।
FilmoraGo और CapCut में specific Instagram presets होते हैं जो automatically आपकी video को platform के हिसाब से optimize कर देते हैं। जब आप export करें तो हमेशा ‘High Quality’ या ‘1080p’ option select करें, लेकिन साथ में ‘Optimize for Instagram’ भी enable करना न भूलें।
Video compression के लिए HandBrake एक बेहतरीन free tool है जो desktop पर काम करता है। यह आपकी video की quality maintain रखते हुए size को 50-70% तक कम कर सकता है।
File Format और Size Management
Instagram के लिए MP4 format सबसे best होता है क्योंकि यह maximum compatibility provide करता है। H.264 codec का इस्तेमाल करें क्योंकि Instagram इसे prefer करता है।
Video का size भी important factor है:
| Content Type | Maximum Size | Recommended Size |
|---|---|---|
| Instagram Stories | 4GB | 50-100MB |
| Instagram Reels | 4GB | 30-80MB |
| IGTV | 15GB | 200-500MB |
Frame rate को 30fps पर रखें क्योंकि higher frame rates Instagram पर compress हो जाते हैं। Bitrate को 8-12 Mbps के बीच रखना ideal होता है। बहुत ज्यादा bitrate Instagram automatically reduce कर देता है।
Quality Check करने के Steps
Upload से पहले अपनी video को thoroughly check करना जरूरी है। सबसे पहले video को full screen mode में play करें और शुरू से end तक देखें कि कोई glitches या pixelation तो नहीं है।
Audio quality भी check करें – volume levels consistent हों और background noise न हो। अगर audio में problem है तो Audacity जैसे free tools से noise reduction कर सकते हैं।
Video की brightness और contrast को different lighting conditions में check करें। Phone की brightness को 50% और 100% दोनों पर video देखकर ensure करें कि सभी details visible हैं।
Color accuracy के लिए video को different apps में open करके देखें। कभी-कभी editing app का color profile अलग होता है जो final output को affect करता है।
Different Devices पर Testing करना
आपकी video को multiple devices पर test करना बेहद जरूरी है। Android और iPhone दोनों पर video देखें क्योंकि display quality में difference हो सकता है।
Different screen sizes पर भी check करें – phone, tablet, और desktop browser में। Text और small details सभी devices पर clearly readable होने चाहिए।
Internet speed भी factor है। Fast WiFi और slow mobile data दोनों conditions में video load करके देखें कि buffering issues तो नहीं हैं। कभी-कभी highly compressed videos slow networks पर better perform करती हैं।
Various Instagram accounts से video share करके देखें कि quality consistent है या नहीं। Business accounts और personal accounts में sometimes compression differently होती है।
आपकी Instagram Stories और Reels की खराब video quality अब इतिहास बन जाएगी। सही camera settings और recording practices के साथ आप professional-quality content बना सकते हैं जो आपके followers को impress करेगा। 4K resolution में record करना, proper lighting maintain करना, और upload से पहले video optimize करना – ये सभी steps मिलकर आपकी content quality को next level पर ले जाएंगे।
अब आपके पास वे सभी tools और techniques हैं जिनकी जरूरत आपको high-quality Instagram content बनाने के लिए है। आज ही अपनी camera settings check करें और इन tips को apply करके देखें। आप खुद देखेंगे कि कैसे आपकी videos अब HD quality में upload होती हैं और आपके followers भी इस बदलाव को notice करेंगे।